ComfyUI Workflow Basic Concepts and How to Use
What is a Workflow?
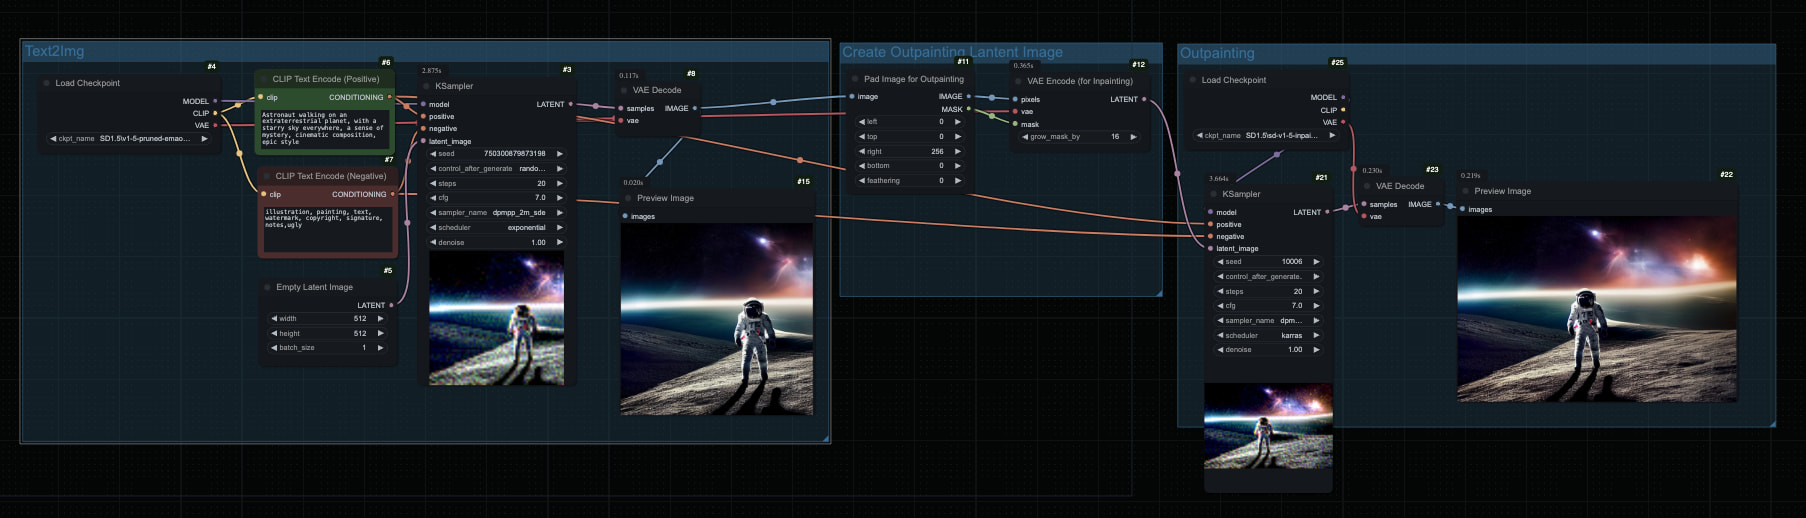
A workflow is the core concept in ComfyUI, simply put, it’s a graphical interface composed of multiple connected nodes that describes the entire AI image generation process. Like building with Lego blocks, we combine nodes with different functions to achieve various AI image generation effects.
ComfyUI has a very rich ecosystem, including image, video, audio, 3D and other content. Thanks to the development of the open source community, these contents are now very abundant. However, due to the complexity, you may need to spend some time to understand and learn about the function of each type of building block and how to combine them.
Below is an example of a text-to-image workflow from the official ComfyUI:

How to Learn ComfyUI Workflows?
Since ComfyUI’s ecosystem is very rich, you may need to spend some time understanding the characteristics of different types of models and how to build various workflows. You can find some basic examples on ComfyUI-Wiki, starting with simple text-to-image and image-to-image workflows, then gradually getting into more complex nodes. We will try to optimize the content on the website and periodically check if the original workflows need to be updated, so that you can quickly get started and we’ll provide detailed content introductions in the tutorials.
Here we also recommend some excellent websites and platforms where there are many active authors and related content. You can find many interesting workflows and rich content here:
How ComfyUI Workflows Are Saved
ComfyUI workflows are typically saved in two ways:
- JSON format files: Containing detailed node configuration information
- PNG images with
metadata: All images generated through ComfyUI containmetadatainformation, so you only need to save the corresponding image and import it directly into ComfyUI
Workflow Import and Export
Importing Workflows
Importing ComfyUI workflows is very simple. After starting ComfyUI, simply drag and drop the corresponding image or JSON file onto the ComfyUI interface.
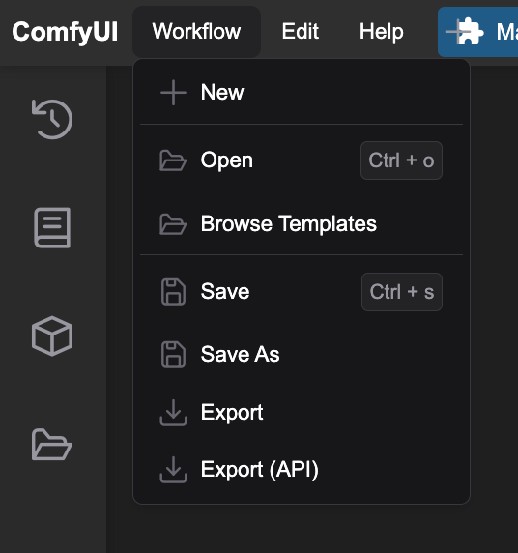
Alternatively, you can use the menu or the shortcut key Ctrl (Command) + O to import workflows.
Exporting Workflows
-
Save the workflow’s image output: When you save the corresponding image, the workflow is properly exported. However, remember that if you use compression software or send it over the network, the
metadatainformation may be lost. -
Save the workflow as a JSON file:
Use the exportoption in the menu to export the workflow as a JSON file.Note that since ComfyUI is still being frequently updated, some older version JSON files may not work properly in newer versions of ComfyUI.