Getting Started with LoRA in ComfyUI - From Basic Usage to Multiple Models

What is LoRA? In AI art generation, LoRA is a small, flexible model that you can think of as a “filter” that can give your images specific styles, content, and details:
- Apply specific artistic styles (like ink painting)
- Add characteristics of certain characters (like game characters)
- Add specific details to the image All of these can be achieved through LoRA.
This tutorial provides a basic guide for using multiple LoRA models in ComfyUI, using the SD1.5 model. The core node is the LoRA Loader node, which is responsible for loading LoRA models.
Preparation
Step 1: Download the Models Used in This Tutorial
If you already have other relevant models on your computer, you can skip this step. If not, you can download the models used in this tutorial:
| Model Type | Model Name | Download Link |
|---|---|---|
| SD1.5 Model | DreamShaper v8 | Download |
| LoRA Model | MoXin | Download |
| LoRA Model | QingYi | Download |
In your ComfyUI directory, ensure you have the following folder structure:
📁ComfyUI
├── 📁models
│   ├── 📁checkpoints
│   │   └── 📁SD1.5              // Store DreamShaper v8
│   └── 📁loras
│ └── 📁SD1.5 // Store LoRA models- Place the DreamShaper model in the
models/checkpoints/SD1.5folder - Place the MoXin and QingYi LoRA files in the
models/loras/SD1.5folder
The reason for using the SD1.5 subfolder in the corresponding model directory is that there are currently many different models like SD1.5, SD3.0, SDXL, FLUX, etc., and their model resources may not be universally compatible, so subfolders are needed for distinction. You can also rename the corresponding model files to add some simple model information descriptions, making it easier to distinguish when you have many models later.
Step 2: Restart ComfyUI
After installation, restart or refresh ComfyUI to let it recognize the new models
Step 3: Download and Import the Workflow File into ComfyUI
Workflow File Description
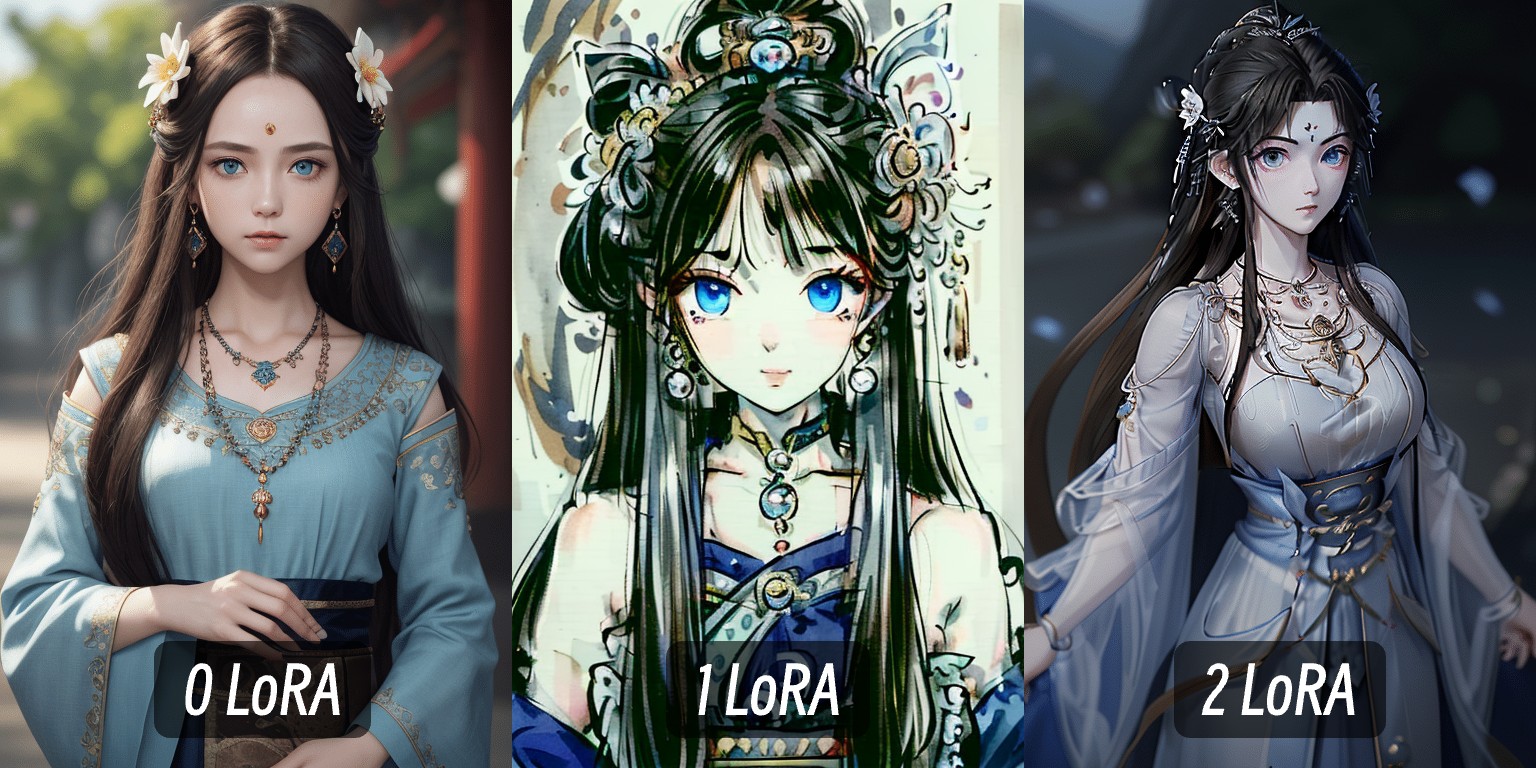
In this file, I provide three workflows:
- Base model
- Base model + MoXin LoRA (weight 1.0)
- Base model + MoXin LoRA (weight 0.2) + QingYi LoRA (weight 0.1)
They all use the same seed to ensure consistent variables for comparing the effects before and after applying LoRA. You can try modifying different weights to compare the effects.
Related Content
ComfyUI LoRA Loader Node Documentation How to Install LoRA Models in ComfyUI