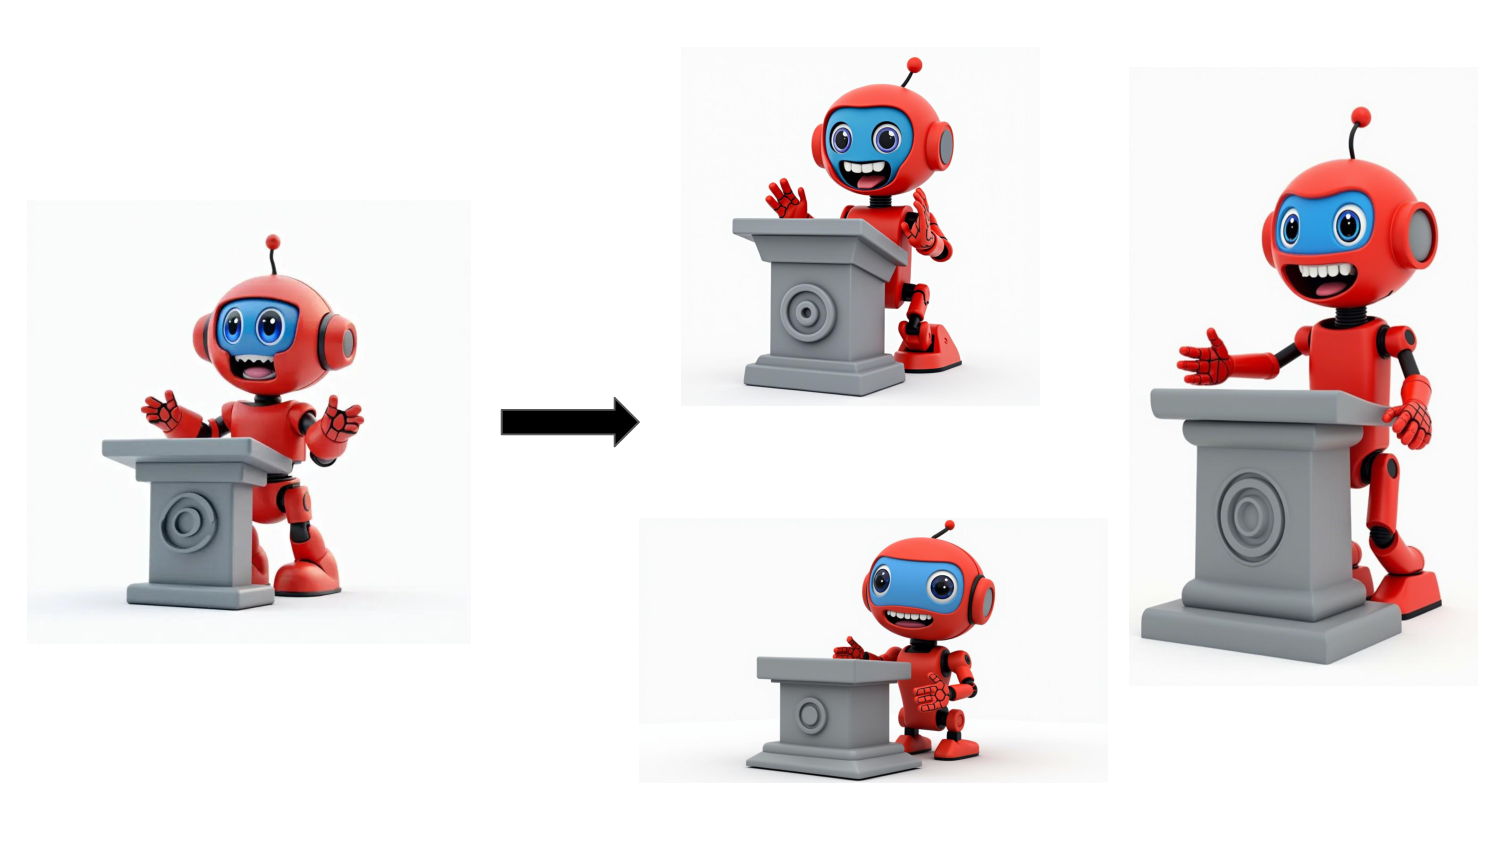
Detailed Tutorial on Flux.1 Redux Dev Workflow
Flux Redux is an adapter model specifically designed for generating image variants. It can generate variants in a similar style based on the input image without the need for text prompts. This tutorial will guide you through the complete process from installation to usage.

This tutorial is a detailed guide based on the official ComfyUI workflow. The original official tutorial can be found at: https://comfyanonymous.github.io/ComfyUI_examples/flux/
Introduction to the Flux Redux Model
The Flux Redux model is mainly used for:
- Generating image variants: Creating new images in a similar style based on the input image
- No need for prompts: Extracting style features directly from the image
- Compatible with Flux.1 [Dev] and [Schnell] versions
- Supports multi-image blending: Can blend styles from multiple input images
Flux Redux model repository: Flux Redux
Preparation
1. Update ComfyUI
First, ensure your ComfyUI is updated to the latest version. If you are unsure how to update and upgrade ComfyUI, please refer to How to Update and Upgrade ComfyUI
2. Download Necessary Models
You need to download the following model files:
| Model Name | File Name | Installation Location | Download Link |
|---|---|---|---|
| CLIP Vision Model | sigclip_vision_patch14_384.safetensors | ComfyUI/models/clip_vision | Download |
| Redux Model | flux1-redux-dev.safetensors | ComfyUI/models/style_models | Download |
| CLIP Model | clip_l.safetensors | ComfyUI/models/clip | Download |
| T5 Model | t5xxl_fp16.safetensors | ComfyUI/models/clip | Download |
| Flux Dev Model | flux1-dev.safetensors | ComfyUI/models/unet | Download |
| VAE Model | ae.safetensors | ComfyUI/models/vae | Download |