ComfyUI Desktop Installation Guide
ComfyUI Desktop is the official desktop one-click installation version launched by ComfyUI, which can be installed like regular software, supports quick installation, automatic Python environment and dependency configuration, and supports importing existing ComfyUI settings, models, workflows, and files.
ComfyUI Desktop is an open-source project. For the complete code, please visit the GitHub repository.
ComfyUI Desktop is always built based on stable versions, which means its updates always lag behind development versions or portable versions. If you want to experience the latest features, you can try manual installation or use the portable version.
System Requirements
- Windows version: Requires NVIDIA graphics card (does not support AMD GPU)
- macOS version: Requires Apple Silicon chip
- Linux: Not currently supported
Since ComfyUI Desktop is still in Beta status, the actual installation process may change.
Download Links
- Official website: https://www.comfy.org/download
- Source repository: https://github.com/Comfy-Org/desktop
For any issues, please provide feedback on the official forum or GitHub Issues.
When providing feedback, please include corresponding log error logs and interface screenshots to help the official team better locate issues. Before providing feedback, it’s recommended to search forum content to see if there are similar issues with existing solutions.
Installation Tutorial
Download Installation Package
Windows users download:
- Download link: https://download.comfy.org/windows/nsis/x64
- Compatible with Windows systems with NVIDIA graphics cards
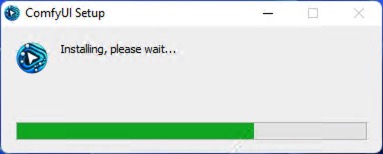
Run Installation Program
Windows installation steps:
- Click here to download ComfyUI installer
- Double-click the installation package after download to install
- After installation, a ComfyUI Desktop shortcut will be created on the desktop


First Launch and Initialization
Double-click the desktop shortcut (Windows) or find ComfyUI in Launchpad (macOS) to start the program.
The first launch will enter the initialization setup process:
Step 1: Start Interface
Click “Get Started” to begin initialization.

Step 2: Select GPU Mode
Windows users can choose:
- NVIDIA Graphics Card (recommended): Direct support for PyTorch and CUDA
- Manual Configuration: Requires manual Python environment installation
- CPU Mode: Only for development or special situations

Step 3: Select Installation Location

Select the installation location for ComfyUI-related content:
- Python virtual environment
- Model files
- Custom nodes
Recommendations:
- Create a separate blank folder as the installation directory
- Ensure at least 15GB of available disk space
- Choose an SSD location for better performance
Step 4: Migrate Existing Installation (Optional)
If you previously installed ComfyUI, you can choose to migrate:
- User files
- Model files (will not copy, just establish links)
- Custom nodes (will be reinstalled)

Step 5: Desktop Version Settings

Configure preference settings:
- Auto Update: Whether to automatically update when updates are available
- Usage Analytics: Whether to collect anonymous usage data to help improve
- Mirror Settings: If network access is restricted, mirrors can be configured
If you see red ❌ indicating mirror failure, you can try the following mirrors:
Python installation mirror:
https://python-standalone.org/mirror/astral-sh/python-build-standalonePyPI mirrors:
- Alibaba Cloud: https://mirrors.aliyun.com/pypi/simple/
- Tencent Cloud: https://mirrors.cloud.tencent.com/pypi/simple/
- University of Science and Technology of China: https://pypi.mirrors.ustc.edu.cn/simple/
Complete Installation
If everything goes well, the installer will complete Python environment configuration and automatically enter the ComfyUI Desktop interface.

Perform First Image Generation
After installation is complete, you can:
- Load default workflow
- Download required model files
- Start generating images
When using for the first time, you may need to download model files, which may take some time depending on your network speed.
Adding External Model Paths
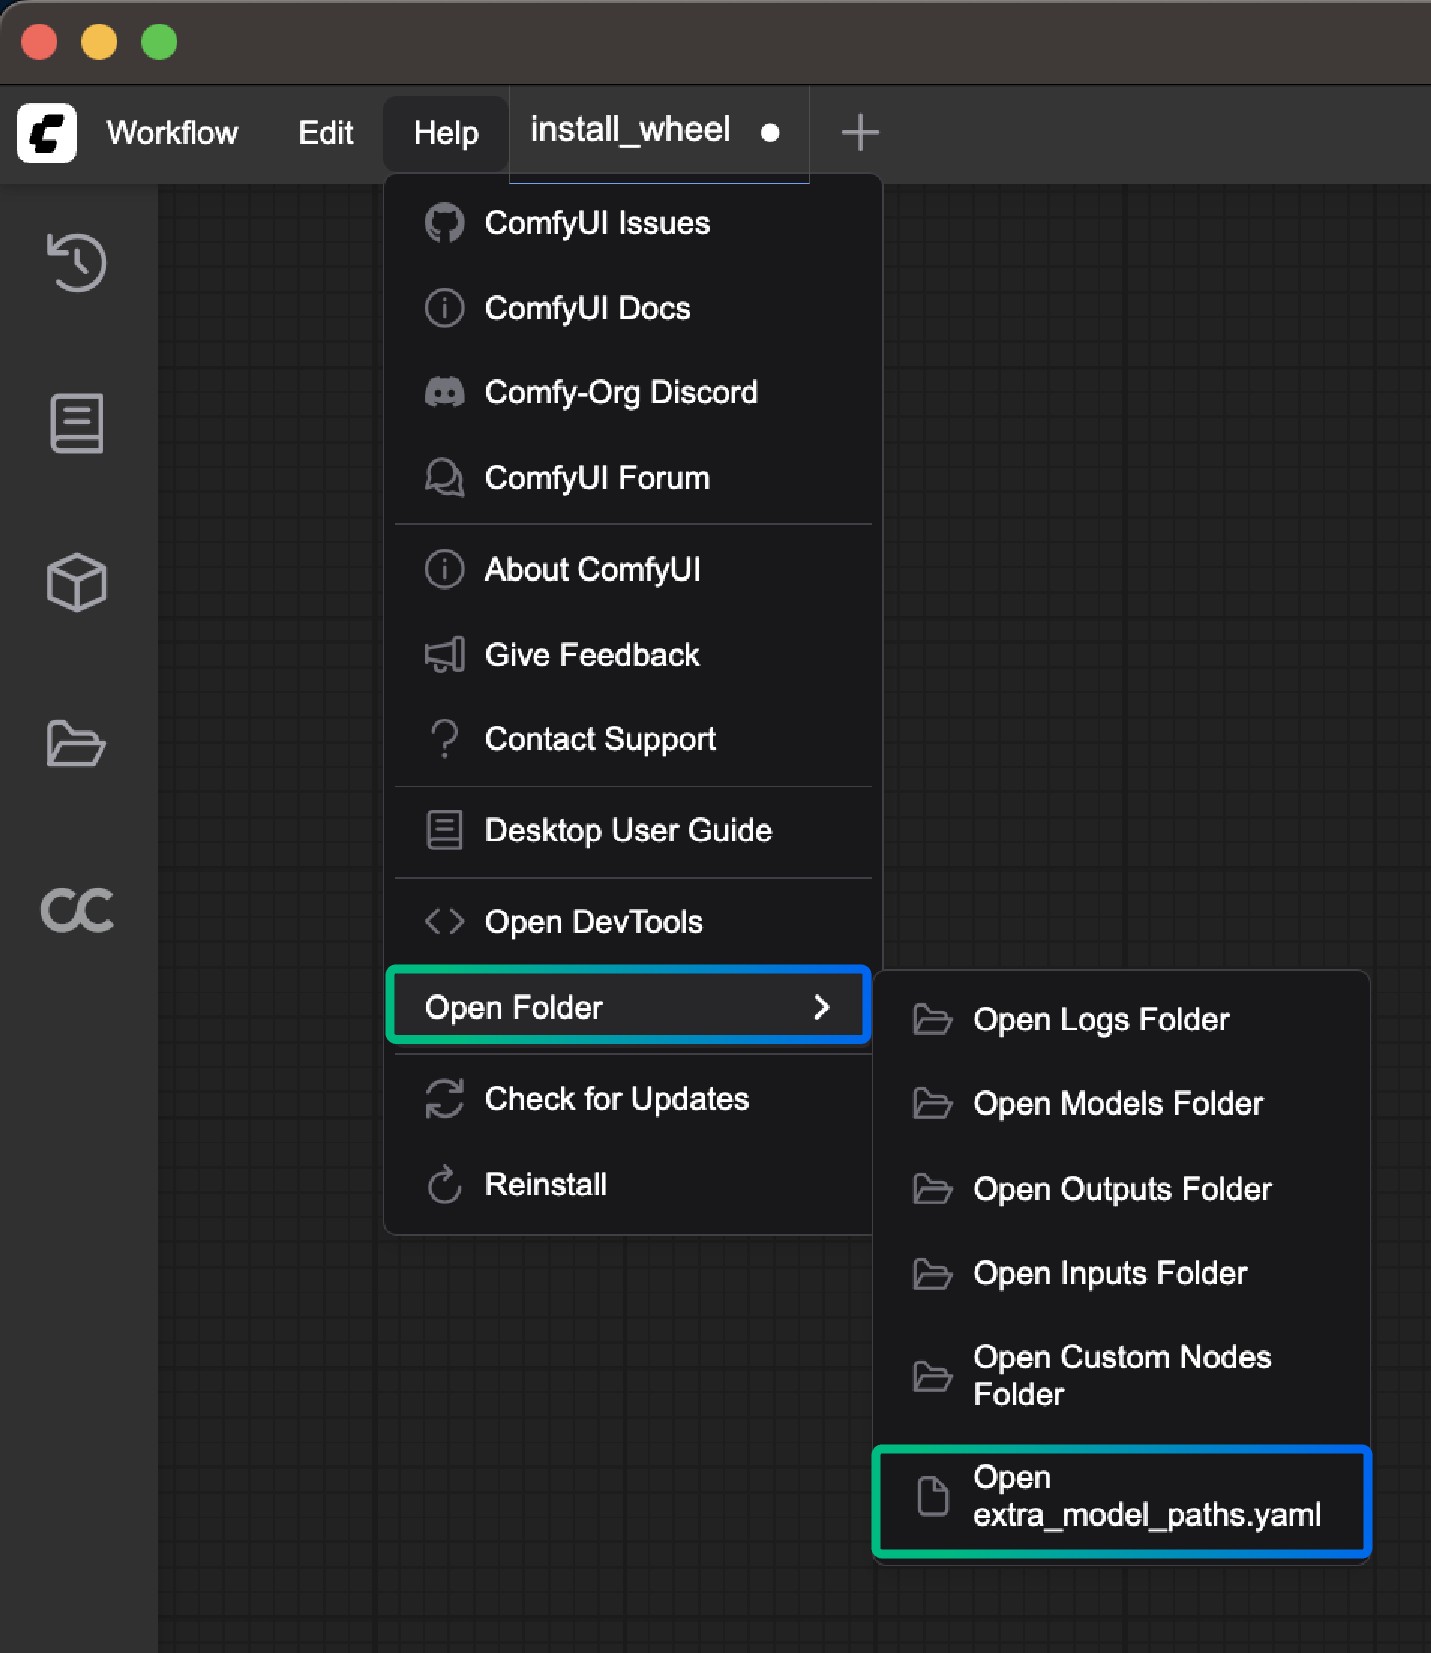
You can add external models in ComfyUI’s menu to link your local model files

Through the method shown above, you can open the extra_model_paths.yaml file to add external model paths:
- Windows:
C:\Users\<your username>\AppData\Roaming\ComfyUI\extra_model_paths.yaml - macOS:
~/Library/Application Support/ComfyUI/extra_model_paths.yaml
Updating ComfyUI

Currently, ComfyUI Desktop only supports automatic updates, which will prompt you to download and install when updates are available. You can also manually check for updates:
- Enable automatic updates in settings
- Or select “Check for Updates” in the menu

Uninstalling ComfyUI Desktop
Windows uninstallation method:
Simple uninstall:
Uninstall the program in Windows settings, will not delete model files, custom nodes, etc.

Complete uninstall: In addition to uninstalling the program, manually delete:
C:\Users\<your username>\AppData\Local\@comfyorgcomfyui-electron-updaterC:\Users\<your username>\AppData\Local\Programs\@comfyorgcomfyui-electronC:\Users\<your username>\AppData\Roaming\ComfyUI
If you delete the installation directory, models, custom nodes, input/output files will also be deleted.
Troubleshooting
Network Connection Issues
If you encounter network issues during installation:
- Check network connection
- Try using VPN
- Configure mirror settings
Device Not Supported
If device not supported is displayed:
- Windows: Ensure you have an NVIDIA graphics card
- macOS: Ensure you have an Apple Silicon chip
Getting Help
If you encounter other issues:
Windows users:
View log files: C:\Users\<your username>\AppData\Roaming\ComfyUI\logs
Get support:
- Visit the official forum for help
- Submit issue reports on GitHub
When submitting issues, please include:
- Error logs
- System information
- Detailed error description
- Reproduction steps


