How to Install the Stable Diffusion Model in ComfyUI?
Below is a guide on installing and using the Stable Diffusion model in ComfyUI.
Step One: Download the Stable Diffusion Model
There are many channels to download the Stable Diffusion model, such as Hugging Face, Civitai, etc. Here, I recommend using the Civitai website, which is rich in content and offers many models to download.
- Open the Civitai model section at https://civitai.com/models
- Click on the Filters option in the page menu.
- In the Filters pop-up window, select Checkpoint under Model types.
- If you need a specific model version, you can choose it under the Base model category.
- Browse the page; usually, the cover is a preview of the effect, and you can choose a model you need.
- Click on the model card to enter the details page, where you can see the blue Download button, click to download.
- Wait for the download to complete and proceed to the next step.
Step Two: Install the Corresponding Model in ComfyUI
📁 ComfyUI_windows_portable       // Official portable version of ComfyUI
├── 📁 ComfyUI                    // Main folder of Comfy UI
│  ├──📁 models                   // Model installation folder
│  |  ├── 📁 checkpoints          // 💡 You need to put the downloaded model files in this folder
│  │  └── ...
│  └── ...
└── ...
Due to different versions of the Stable diffusion model using other models such as LoRA, CotrlNet, Embedding models, etc., their model versions need to correspond, so I highly recommend creating a new folder to distinguish between model versions when installing. For example, a structure like the following:
📁 ComfyUI_windows_portable
├── 📁 ComfyUI
│  ├──📁 models
│  |  └── 📁 checkpoints
│  │       ├── 📁 SD1.5
│  │       ├── 📁 SD2.0
│  │       ├── 📁 SDXL
│  │       ├── 📁 FLUX
│  │       └── ...
│  └── ...
└── ...
Store your model files in the corresponding folders. Rest assured, ComfyUI can recognize your file hierarchy, making it easier to distinguish in daily use.
If you are also using A1111’s WebUI, you can install the model in the corresponding directory of the WebUI and set it up according to the following article:
How to link models between ComfyUI and A1111 WebUI
Step Three: Verify Successful Installation
- Start or refresh your ComfyUI service.
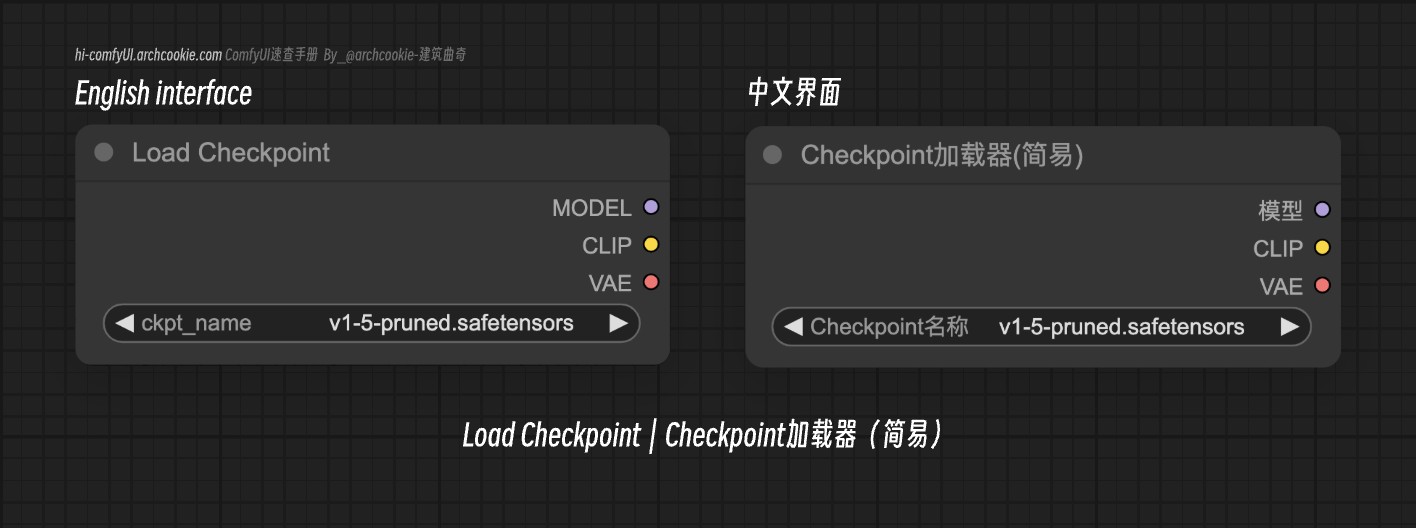
- Select the Load Checkpoint node and check if the options have added the corresponding model files. If not, please check your installation path and configuration.
Note: Some custom nodes like ComfyUI Manager support download models in one click, those plugins will auto install models in the corresponding folder, so you can also use them to install models.