Pruna's Remove-Object LoRA for Qwen-Image 2.1 in 6 Steps
PrunaAI's Remove-Object LoRA erases a masked object from a Qwen-Image 2.1 photo in 6 steps without CFG, keeps the rest of the frame in place, and ships ComfyUI workflows.
 |  |
|---|---|
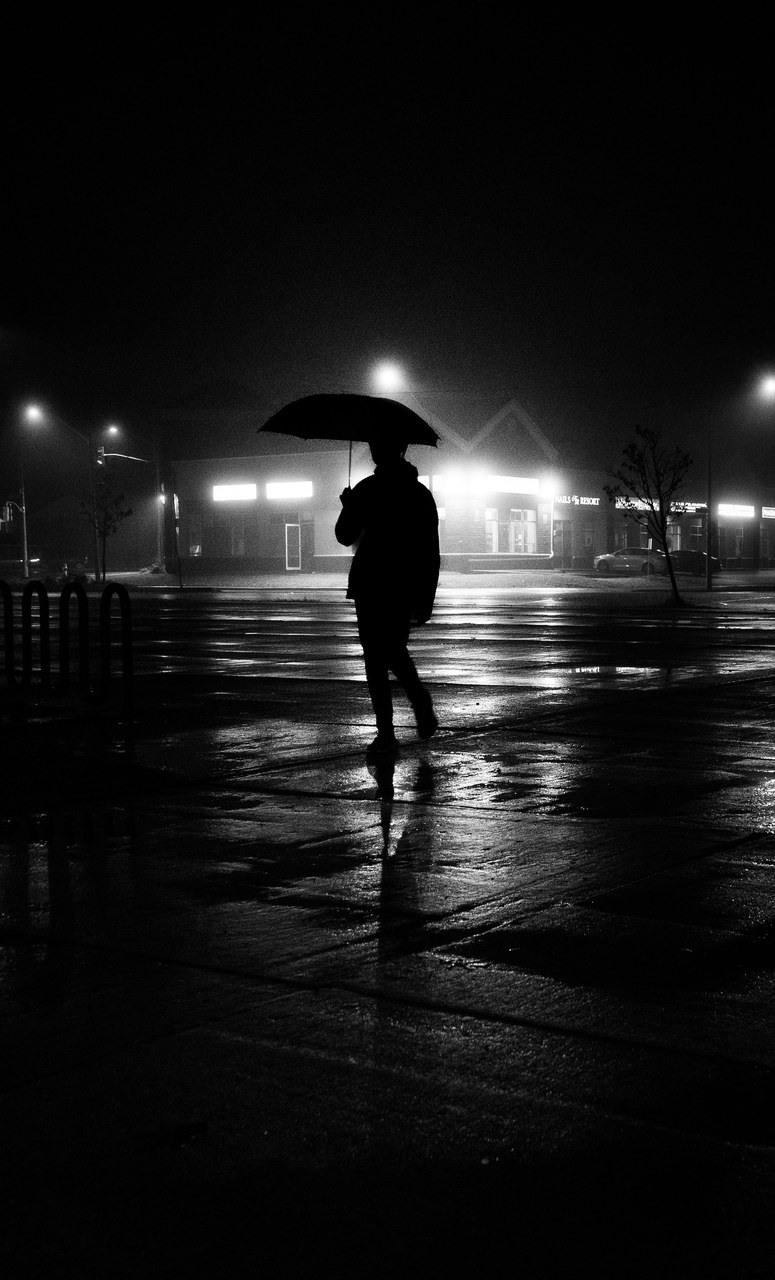
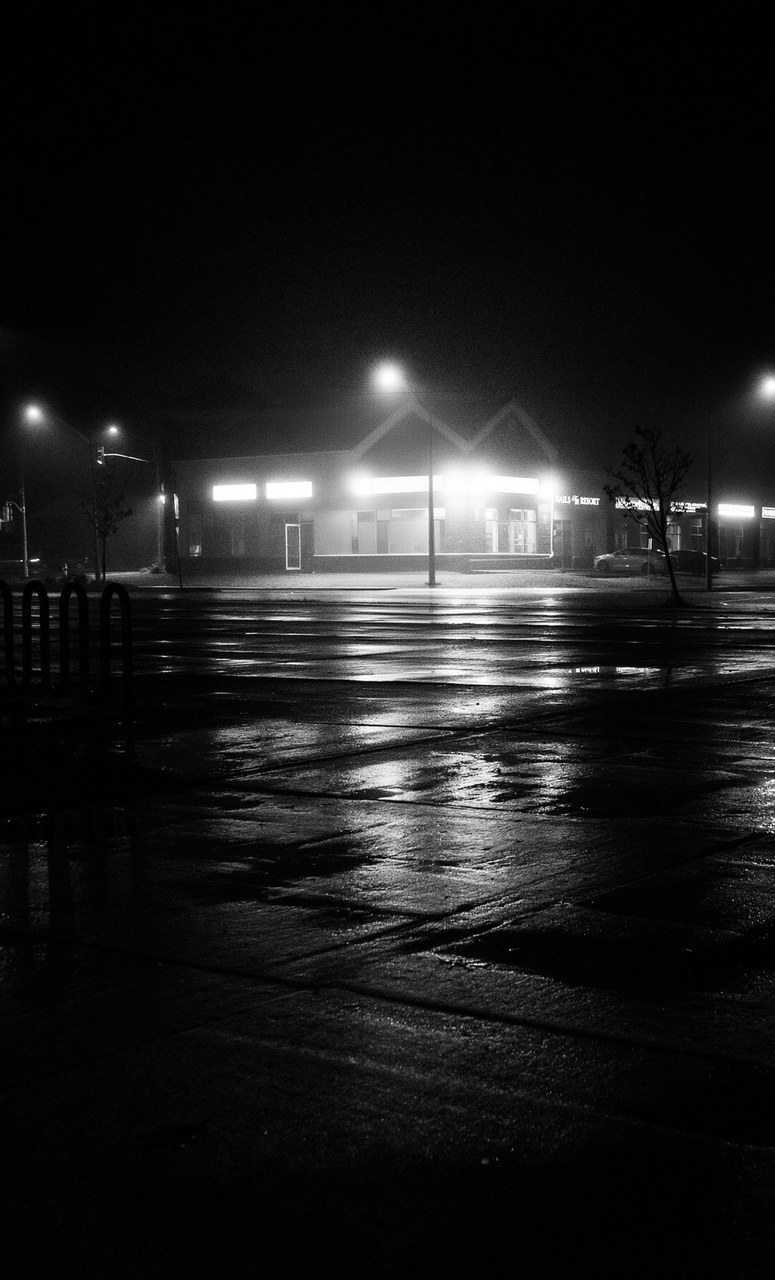
| Photo | 6 steps, "Remove the person with the umbrella walking across the plaza." |
The person goes, and so does the long reflection they cast on the wet plaza, even though it sat outside the mask. The paving continues through the gap.
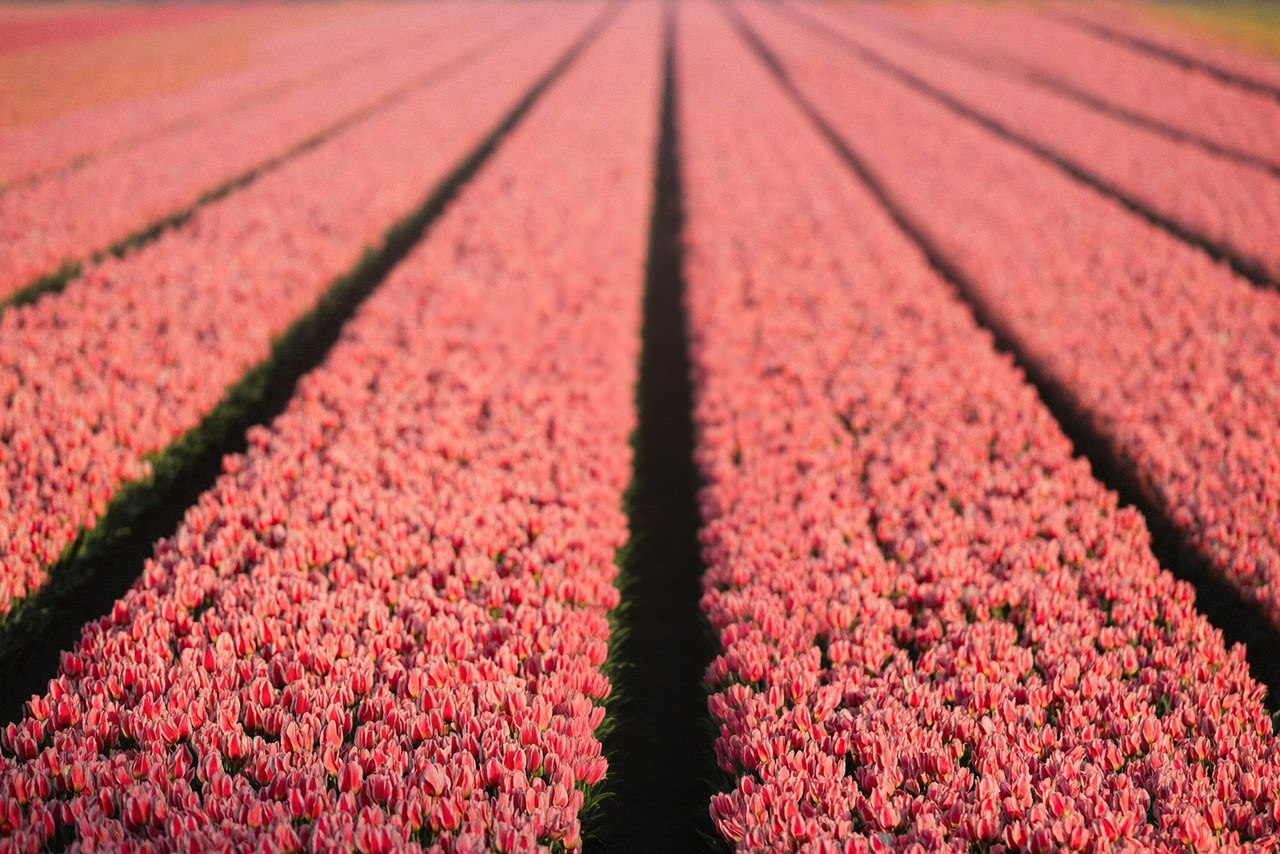
Same LoRA on a different photo, 6 steps, ~2 MP. Examples from the model card.
Why this one
Qwen-Image 2.1 edits tend to repaint the whole frame: colours shift and the output stops lining up with the input, and few-step distillation makes it worse. This LoRA was trained to hold the pixels outside the object, so the result drops back onto the original at its own size. That makes it usable as a finisher, not just a demo.
Run it
- Update ComfyUI to a build with Qwen-Image 2.1 support and subgraphs.
- Files: a diffusion model, text encoder and VAE from Comfy-Org/Qwen-Image-2.1 into their usual folders, then two LoRAs into
ComfyUI/models/loras/: the 6-step distillationp_q_image_2.1_6_steps_v0.2_comfyui_bf16.safetensorsfrom PrunaAI/P-Q-Image-2.1-Comfy andp_q_image_2.1_remove_object_6_steps_v0.1_comfyui_bf16.safetensorsfrom this repo. - Custom node: copy
precise_removal_outline/intoComfyUI/custom_nodes/, install itsrequirements.txt(opencv) into ComfyUI's Python, restart. - Mask: right-click Load Image, Open in MaskEditor, paint over the object, save. A mask file works too (white = remove); without one, the instruction alone names what goes.
- Write the instruction in Precise Removal Outline, e.g.
Remove the man on the left.The node draws the red outline and appends the sentence the model was trained on.
Sample 6 steps, no CFG, removal_strength 0.7 with the distillation LoRA at 1.0. The workflows open on a bundled example whose mask is already painted.
| Variant | Steps | Distillation LoRA | Strength |
|---|---|---|---|
6-step (default) | 6 | p_q_image_2.1_6_steps_v0.2 | 0.7 |
8-step | 8 | p_q_image_2.1_8_steps_v0.1 | 0.7 |
base | 40 | none | 1.0 |
Limits
- It can take more than the object. The outline outweighs the text, so a mask that also covers something you want to keep can delete that too. Keep it tight where objects overlap. Lowering strength does not fix this.
- Filled areas can look smoother than their surroundings, or show a faint grid. At 0.5 some removals fail and the object stays, recoloured.
- Removal only. Adding or replacing objects was never trained and runs no better than the base model.
- With the mask off, the instruction alone often works better than a sloppy mask on crowded scenes.
Availability
- LoRA, ComfyUI export, node and workflows: PrunaAI/P-Q-Image-2.1-Remove-Object and PrunaAI/P-Q-Image-2.1-Remove-Object-Comfy
- Distillation LoRAs: PrunaAI/P-Q-Image-2.1-Comfy
- Base model: Qwen/Qwen-Image-2.1, ComfyUI repack in Comfy-Org/Qwen-Image-2.1
Comments
Sign in with GitHub to join the discussion.