Create Your First Image in ComfyUI
Before you begin this tutorial:
- Ensure that you have ComfyUI installed.
- You should have at least one checkpoint model in your ComfyUI.
And you should be familiar with its basic operations. If you haven't installed ComfyUI yet, please follow the ComfyUI Installation Guide to install it, and the corresponding sections have also explained the details of the first image generation.
This tutorial will take the Windows version of ComfyUI as an example.
Step One: Open ComfyUI
How to Launch ComfyUI with the QiuYe Launcher
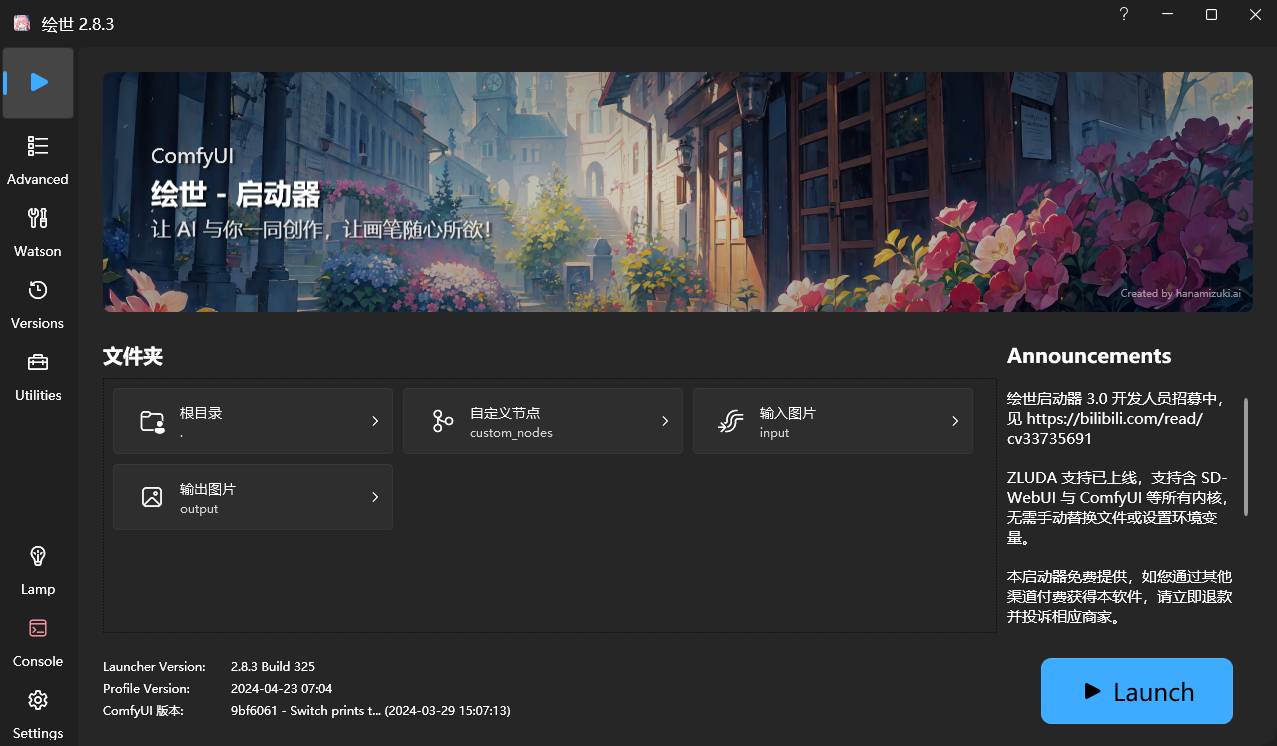
Click the bottom right blue icon ▶︎One-Click Launch on the launcher's home page to start ComfyUI with one click. If it runs correctly, it should automatically open the console for you to run the relevant scripts.
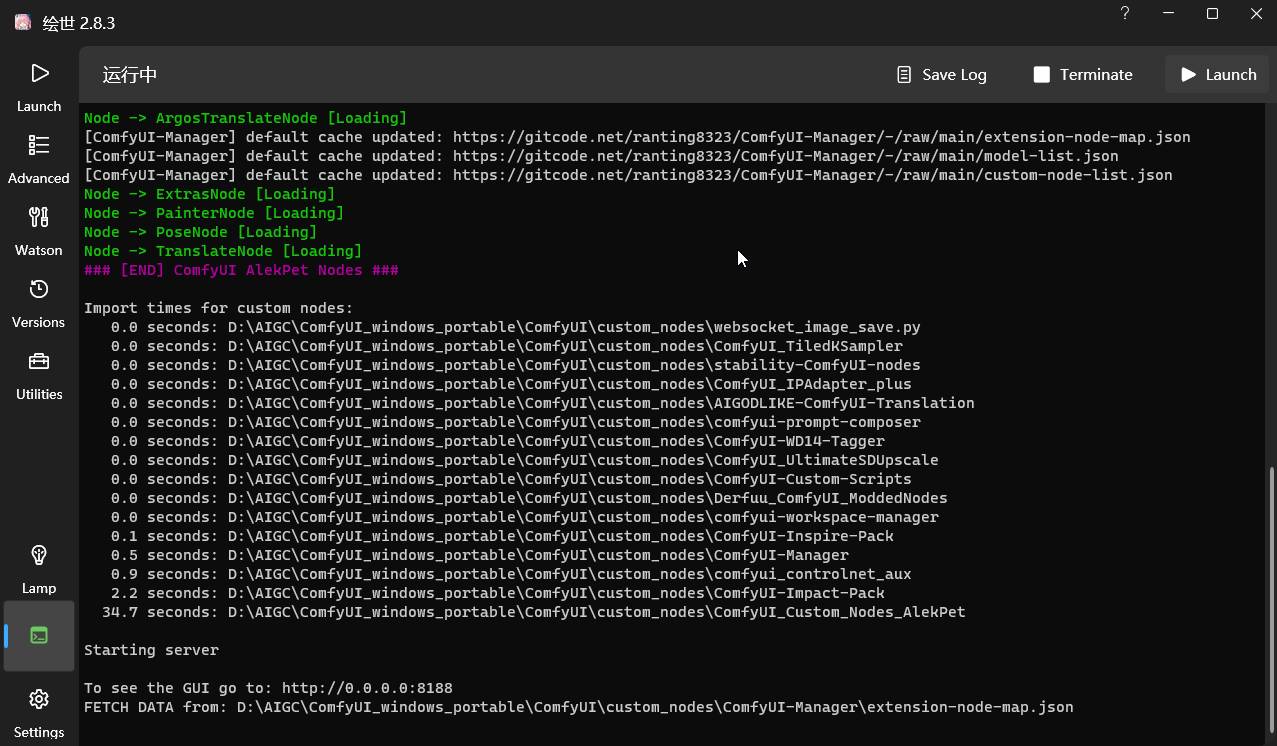
As shown in the figure above, when you see
Starting server

To See the GUI go to: http://0.0.0.0:8188  // The URL here may vary depending on the device display
It means that ComfyUI has been successfully started. If the browser does not start normally, you can visit the URL after To See the GUI go to: directly through the browser, such as in the example above it should be http://0.0.0.0:8188 (opens in a new tab).
How to Launch ComfyUI with the Official Portable Version
If you are using the official ComfyUI Portable Version, you should be able to find the following files in the corresponding folder
ComfyUI_windows_portable
├── ...Other files are omitted
├── run_cpu.bat                                 //  Double-click to run it to start ComfyUI when your graphics card is A card or only CPU
└── run_nvidia_gpu.bat                           // Double-click to run it to start ComfyUI when your graphics card is N card (Nvidia)
As shown in the figure above, when you see
Starting server

To See the GUI go to: http://0.0.0.0:8188  // The URL here may vary depending on the device display
It means that ComfyUI has been successfully launched. If the browser does not start normally, you can directly access the website after To See the GUI go to: through the browser, such as in the example above, it should be http://0.0.0.0:8188 (opens in a new tab).
By default, the ComfyUI's default workflow will be automatically loaded after the start, as shown in the figure below.
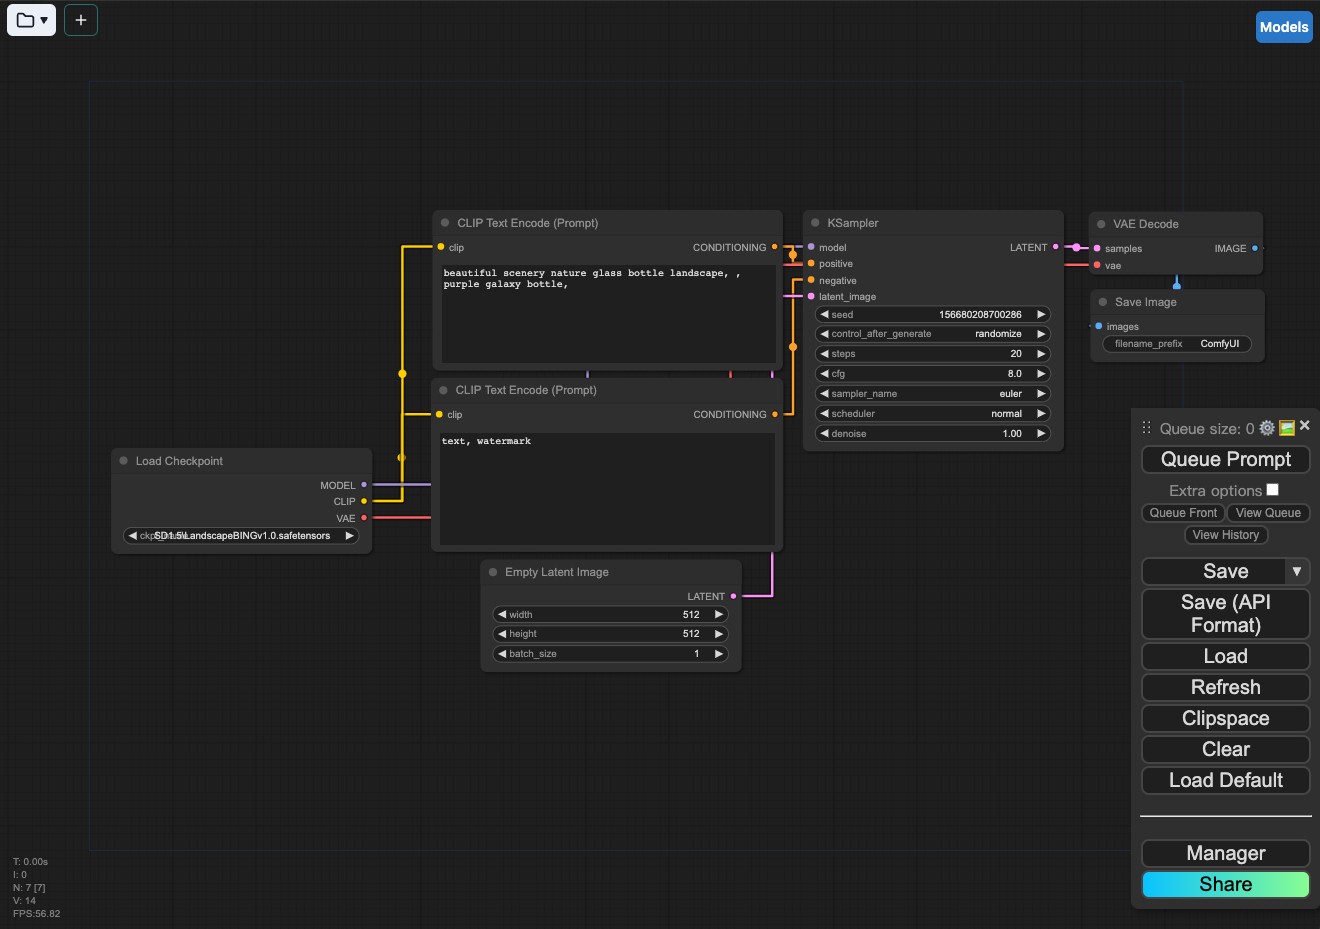
If the interface is blank or the default workflow is not loaded, please click on the Load default / Load default in the lower right corner menu to load the default workflow.
If your browser only displays the web page title ComfyUI after opening, but there are no GUI elements, this situation may be due to browser incompatibility. It is recommended to use the latest version of Chrome Browser (opens in a new tab).
First Image Generation
- First, you need to confirm that the model file loaded in the Load checkpoint in your workflow has been loaded normally.
- If there are no errors, you can click on
Queue Prompt. - Wait for the operation to be completed. If everything goes well and the image is generated, congratulations! You have completed the installation of ComfyUI and related basic content.
If you want to continue exploring, you can visit the following content to continue learning about the basic operations of the ComfyUI interface.
Basic Operations of ComfyUI Interface